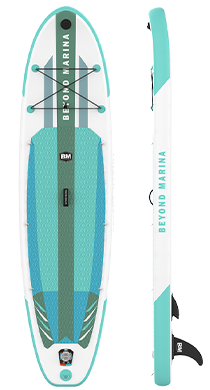
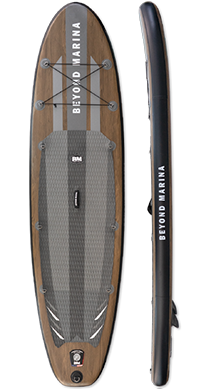
Setting up your Beyond Marina inflatable SUP
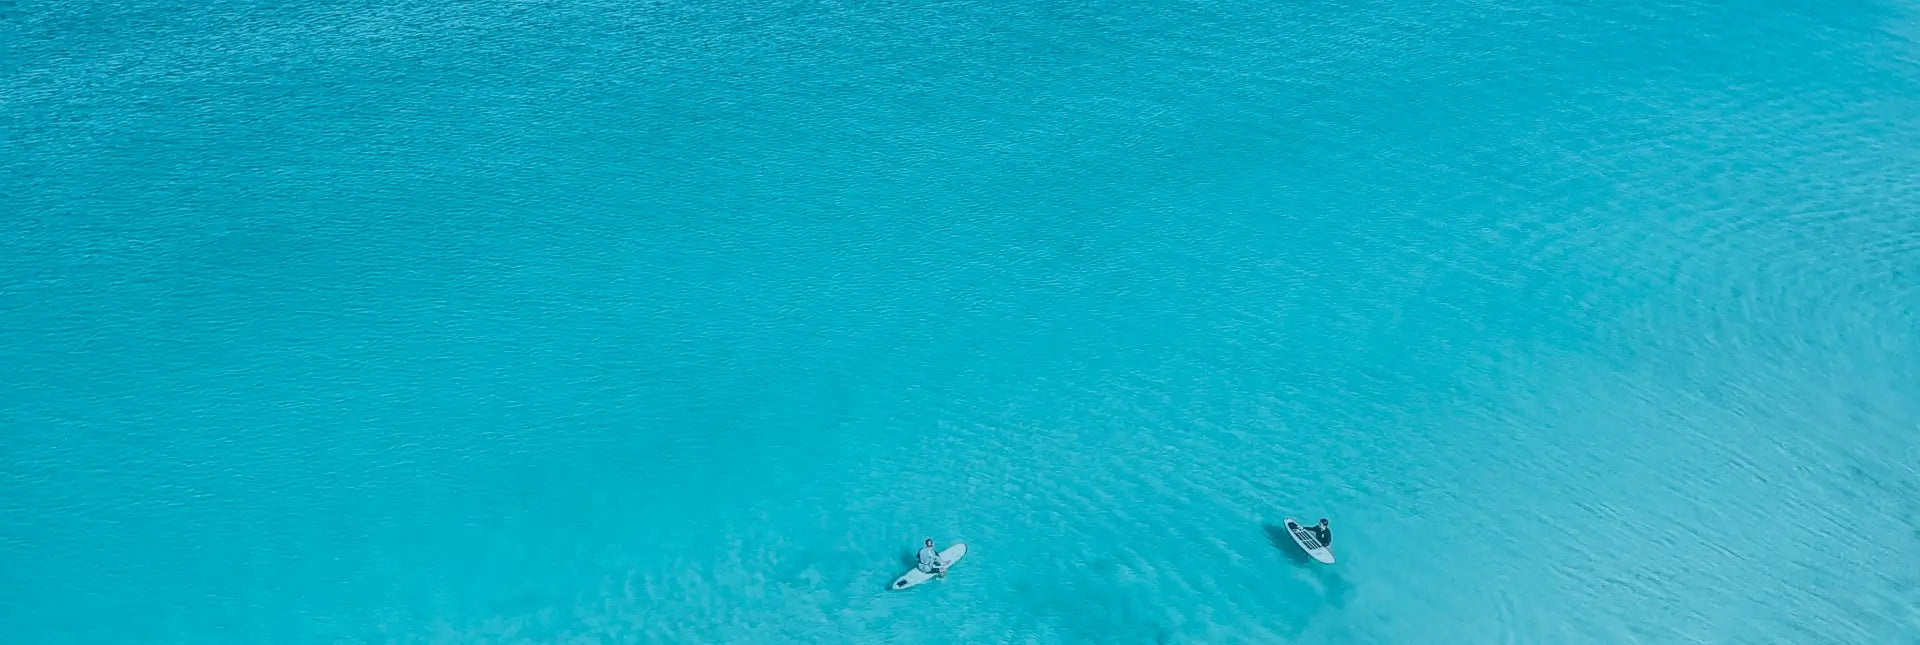
Setting up a BM inflatable SUP is quick and easy, and it’s something anyone can do in about ten minutes. In this iSUP setup guide, we’ll take you step-by-step through the entire setup process and show you just how simple it really is. After that, we’ll also show you exactly what to do after you’re done paddling and are ready to pack your board back up. Getting your board deflated and packed into the BM iSUP backpack is even easier!
Setup your iSUP
STEP 1: Unpack and unroll your Beyond Marina iSUP
Pull your Beyond Marina iSUP out of the backpack, loosen and remove the compression strap, and roll your board out flat on the ground with the deck pad facing up.
STEP 2: Unscrew the valve cap
Located at the tail of your board is the inflation valve. Unscrew the valve cap.
STEP 3: Set the valve position to CLOSED
Make sure the valve pin is up so the valve is closed. Inflation is done when the valve is closed, ensuring it won’t lose pressure when the pump hose is removed.
STEP 4: Attach the pump’s inflation hose
Included with your BM inflatable paddle board is a dual-action hand pump. Insert the pump hose into the air valve on your board and twist clockwise until secured in place. Connect the other end of the hose to the inflation port on the pump body.
STEP 5: Set the pump to dual-action mode
Your BM iSUP pump has two modes: single and dual-action. Begin by inflating your board in dual-action mode for efficient air pumping.
STEP 6: Place your feet on the pump and begin pumping
Stand on the pump with both feet, keeping your back straight and primarily utilizing your lower body to inflate the board.
STEP 7: Flip the switch to single-action mode
As you continue pumping, switch to single-action mode for easier inflation once pumping becomes challenging in dual-action.
STEP 8: Stop pumping when you reach 12-15 psi
Once the needle on the built-in pressure gauge reaches 12-15 psi, stop pumping. Ensure not to exceed 15 psi.
STEP 9: Disconnect the pump hose from your board
Give the pump hose a counterclockwise twist to disconnect it from your board’s air valve.
STEP 10: Screw on the air valve cap
Secure the valve cap over the board’s air valve.
STEP 11: Attach the SUP leash
Attach the leash to the D-ring at the board’s tail for safety measures.
STEP 12: Install the fin
Attach the fin using the Quick Lock toolless fin system structure.
STEP 13: Assemble and adjust the 3-piece carbon shaft paddle
Assemble the paddle according to the provided instructions.
Pack up your iSUP
STEP 14: Clean and rinse off your board
Remove any residues on the board and rinse it with fresh water before wiping it down.
STEP 15: Detach the accessories
Remove the fin and leash from the board.
STEP 16: Deflate the board
Press down the inflation valve pin and ensure it stays in the OPEN position to deflate the board successfully.
STEP 17: Roll up the board
Roll up the board tightly, starting at the tail and using the fin boxes to fold it forward. Secure with the compression strap.
STEP 18: Disassemble the paddle
Disassemble the paddle by unlocking the clasps and separating the pieces.